Call Recorder for Skype
- clouddownload Try it Free
Requires macOS 10.12 or newer
and an Intel-based Mac.
(Not compatible with M1 Macs
or macOS 14 Sonoma.) - Buy $39.95
Free Lifetime Updates
Fast & Friendly Support
Support Bulletin: Call Recorder is not compatible with Apple M1 Macs or with macOS 14 Sonoma. An Intel-based Mac running macOS 13 or older is required. Click for Details
We made something good even better
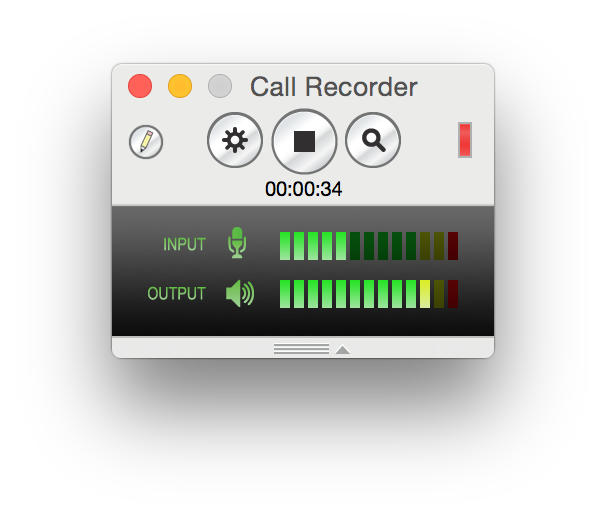
Call Recorder records Skype audio and video calls directly to your Mac.
Record automatically, or use the record and stop buttons. It's that simple.

Good-looking and smart, to boot
With Call Recorder you get stunning, high-quality, HD recordings. You can record your Skype video sessions, podcasts and interviews as you see them, or in our unique side-by-side and split-screen modes.
Feel like sharing? Easily convert your calls into MP3 files for podcasting or internet-ready movies for YouTube and Vimeo.
Doing some editing? Call Recorder's multi-track recording feature lets you split tracks after a call.
We think seeing is believing. Download Call Recorder now to try it out free for 7 days.

Calls are automatically organized in Ecamm Movie Tools for easy export and sharing.
- clouddownload Try it Free
v3.0.18 (4.5 MB)
- Buy $39.95
Instant Order Fulfillment
 Also big shout out to @BrendanClancy for recommending ecamm call recorder for Skype — has helped our sound quality immensely! 1917 days ago
