CardRaider
- clouddownload Download
Requires macOS 10.12 or newer
and a memory card reader.
Recover lost photos and movies in a snap
All is not lost when it comes to your photos and videos. With just one little click CardRaider can recover your lost JPEGs, RAW files and movies.
Simple, affordable, necessary
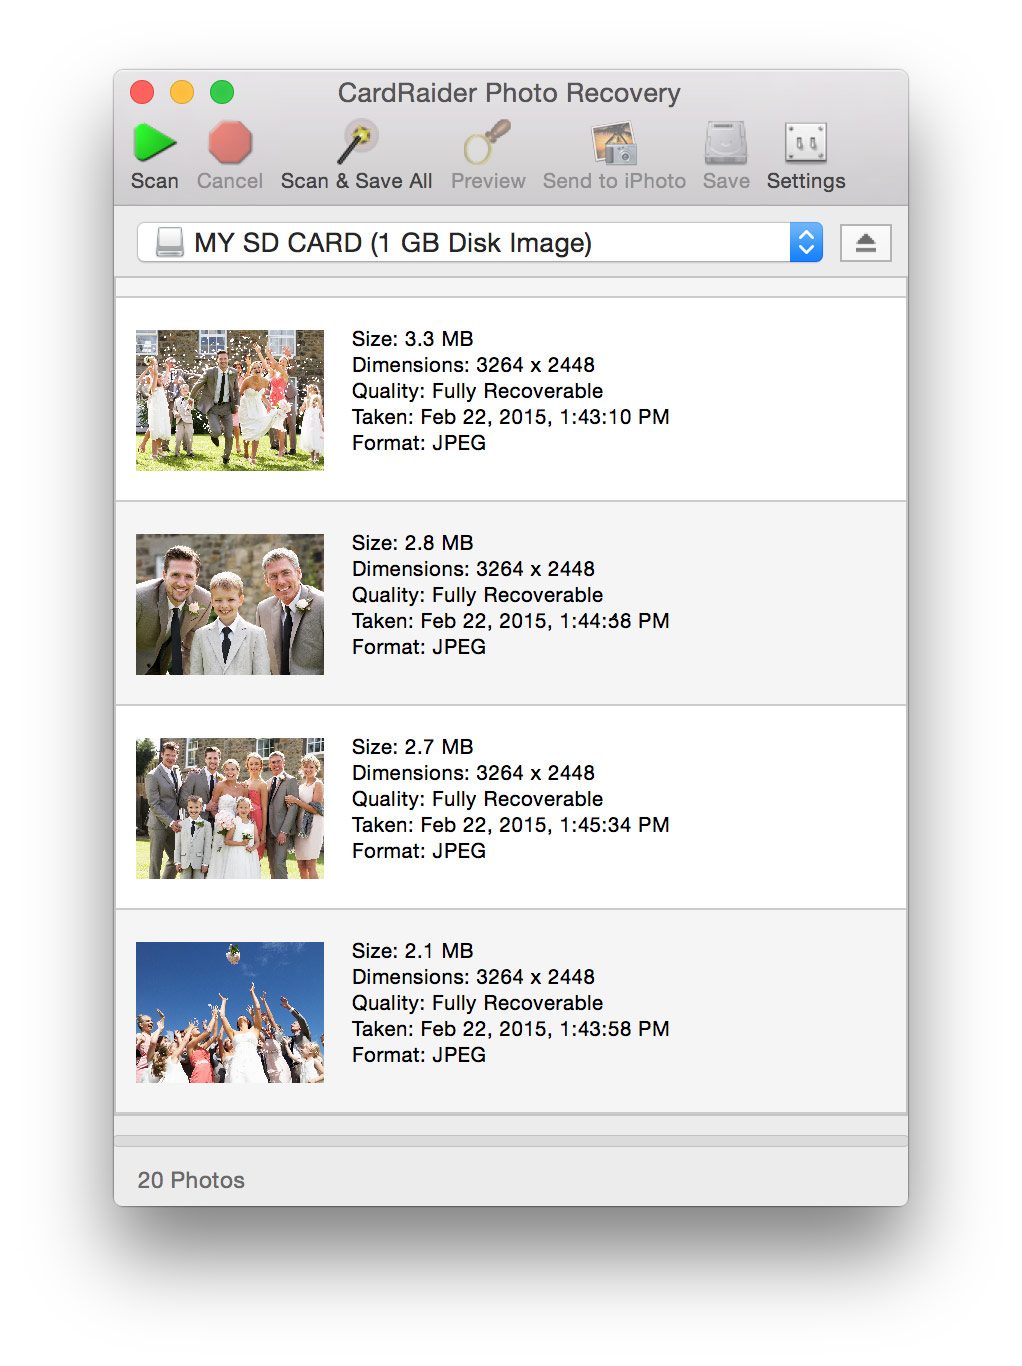
CardRaider is the easiest and most cost effective way to recover lost photos and movies from your digital camera, memory card or thumb drive. See thumbnails and previews before recovering. Then save files to your Mac or send directly to iPhoto. CardRaider can even work on damaged or reformatted cards.
Rescue RAW Files Too
With support for over 20 formats, CardRaider's support for recovering RAW files is unmatched.
- clouddownload Download
v2.0.16 (3.3 MB)